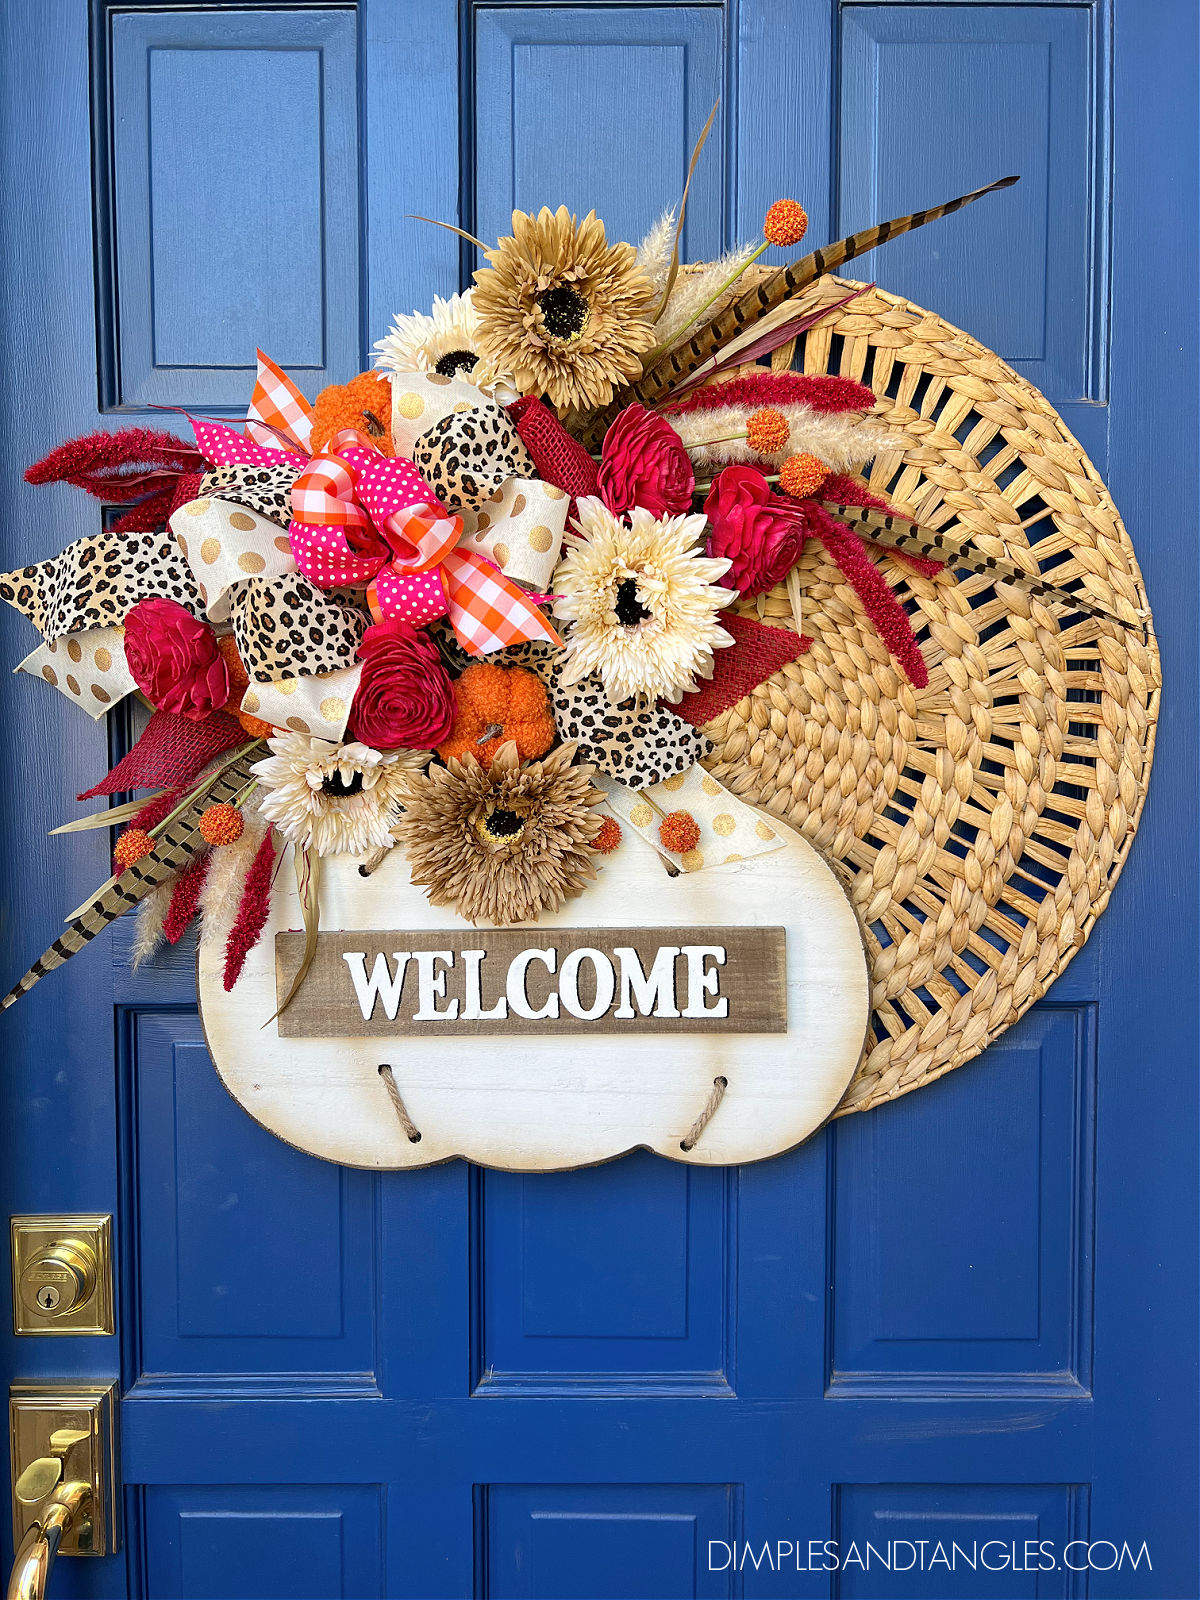
In yesterday's post I shared how I made the leopard decoupage pumpkins for my Fall Front Porch this year. Today I have a quick post to show you how I assembled my pumpkin door hanger in lieu of a traditional Fall wreath. I got all of my supplies at Hobby Lobby but you might already have quite a bit of what you need if you want to create a similar door hanger.
This was a simple project that just took some assembly. I started with a premade pumpkin door hanger, a flat round woven piece (from the wall decor department), and a variety of ribbon and fall faux and dried floral stems. I used wire to attach the larger elements (floral wire or I actually prefer to use pipe cleaners- strong and easy to work with!). I used hot glue on the tips of some of the stems that needed some help to stay in place, but some of them i was able to just wedge in and they were secure enough without any glue. The photos below walk through the steps I took in assembling-
This door hanger was super easy to hang, I just hooked one of the open spaces on the round woven piece over the nail in my door- quick and secure! It helped to choose a space that was a little off center towards the pumpkin side so that it hung straight since most of the weight is on the left side. That also ensured that the entire piece was centered better on the door.
Never miss a post!
Subscribe to Dimples and Tangles and receive notice in your inbox each time a new post is published. Click here to subscribe!


I know you've done bow tutorials before, but this one is extra magical :) Would you be able to do a video of how you make one of these?!
ReplyDelete