This post is sponsored by Walmart, affiliate links used for your shopping convenience.
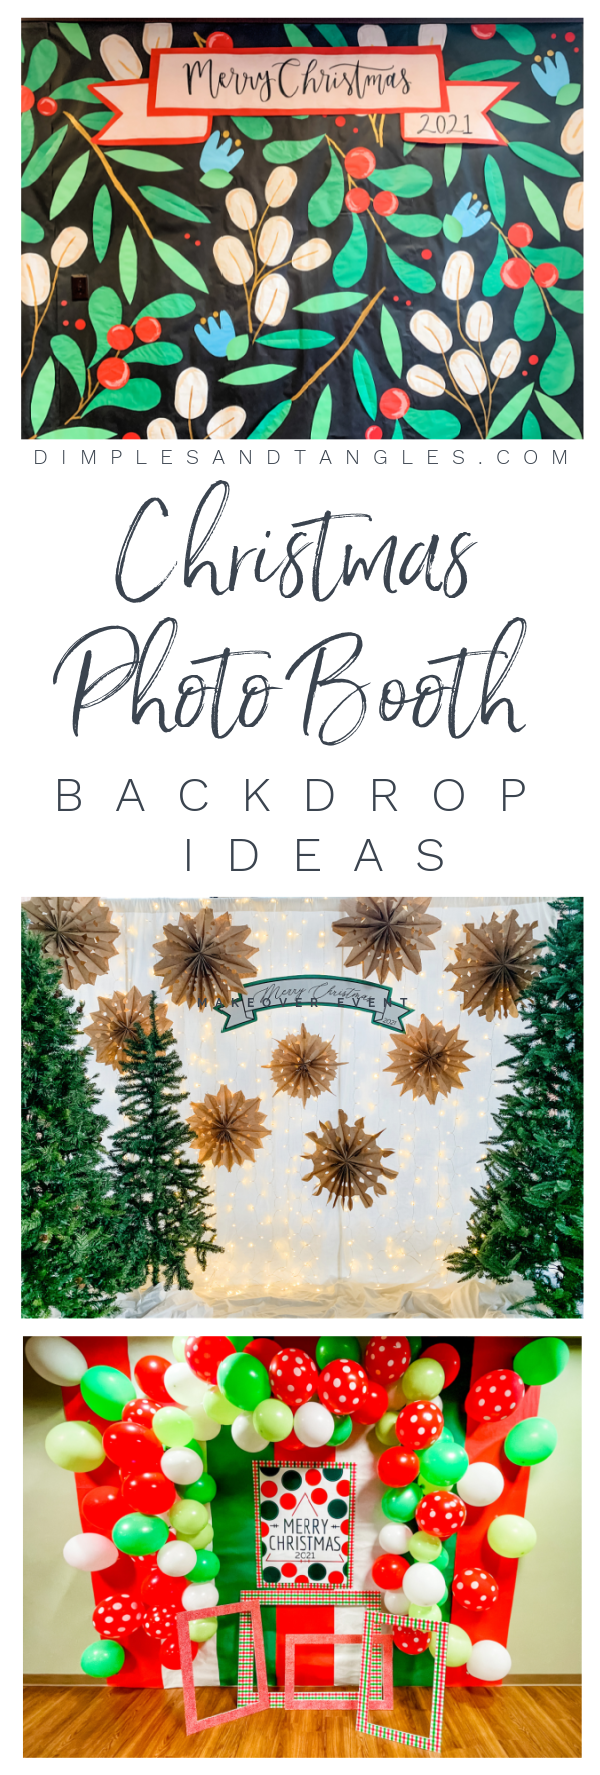
For the past several years I've been responsible for putting together 3 Christmas photo booth backdrops at our church for family photo spots. They have always been virtually identical designs, just located in various areas to alleviate crowding. However, this year I had a team to help and we pulled off three different fabulous and festive designs! I shared a little bit as we were working on them over on Instagram and many people wanted to see the finished products, so I thought I'd put them all in one place and share them with you here so you can Pin for future reference if you'd like. And, I even squeezed in some photos of a few of my new favorite Winter fashion staples at the end of the post to share with you. My goal with these designs is for them to always be budget friendly but to make a big impact!
I'll show you a pulled back photo with the entire backdrop and surrounding area showing, but also a cropped version to get an idea of how the photo would ideally look. If at all possible I really like to frame these shots so that no people are outside of the edge of the backdrop, I don't like any of the surrounding area showing if it can be avoided. That means I try to make these spots as wide as I can, but even with that in mind sometimes family groups using the spot are too large to be completely contained in front of the backdrop. OK, that was getting down in the weeds of details in my brain but that's what I keep in mind when working on these!
We started with the Christmas graphic that was used for all of our seasonal publications this year and adapted it a bit for the first design. One of the ladies on the team is a graphic designer and super crafty, so she scaled the design to fit the wall, then the team cut out the various leaves and flower petals. We met together one day to assemble all the parts on the wall-
and I couldn't be happier with the result! We began by using poster command strips to secure large sheets of colored butcher paper to the wall, then we just used a hot glue gun to attach all of the pieces to the black paper. We painted on some of the details like the stems and accents on the berries, then my friend lettered the ribbon "Merry Christmas" banner to finish it off.
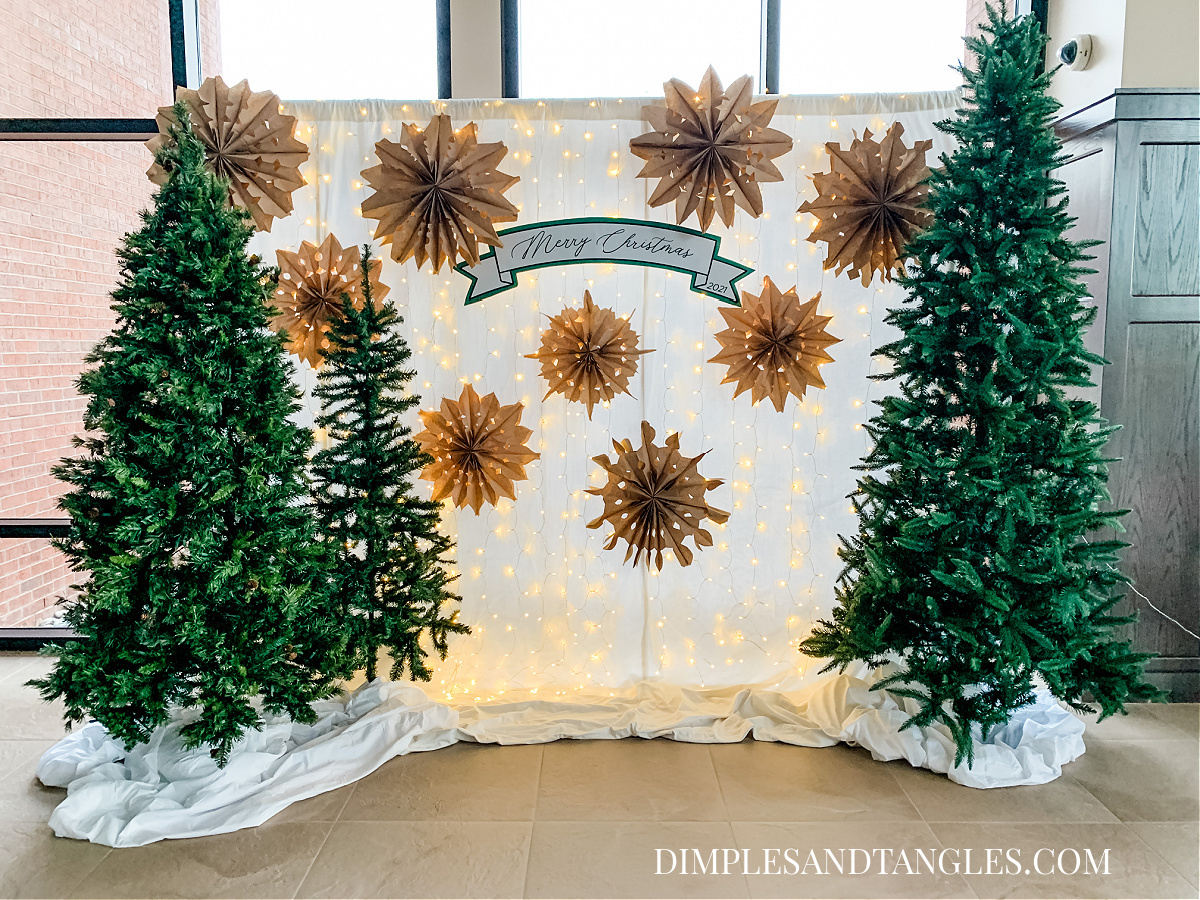
Our second photo booth is a totally different feel... a snowy winter wonderland backdrop! Another friend on the team suggested using these simple paper snowflakes made from brown paper lunch sacks (lots of tutorials on Pinterest) and she had a craft day with the ladies in her family to make us a bunch to use. They turned out so cute!
Our base was a section of white pipe and drape curtains (we don't have a solid wall in this spot or it would have been nice to use butcher paper again). I used 2 sets of curtain lights across the backdrop. I draped them around to the back of the top pole and then secured them with binder clips like this-
I used larger corsage straight pins to attach the paper snowflakes to the curtain, then we framed the edges with old Christmas trees that various members no longer wanted and used inexpensive white flat sheets to wrap around the bases. So, this spot didn't cost much more than the lights which we will now have to use in the years to come.
Our design team printed out a Merry Christmas banner for me and I trimmed it out on a piece of green butcher paper to add some color, then glued the whole sign to a piece of foam board for stability. I used packing tape to attach lengths of white curly ribbon or string to the back, then looped that over the top affixed with more binder clips in the back to hang the sign.
We also added a ring light tripod for each photo booth booth. I got this idea from a concert we went to last year. They had a photo booth set up and had a tripod there so everyone could take their own photo if no one else was around to snap a pic for them. The ring light also helps a bit in these halls where the lighting can be less than ideal.
Lastly, we did a dedicated spot for the kids this year which we haven't done in the past! Why did we not think of that before? And actually, I think I've seen more photos posted of adults using this spot than kids so far... ha! For this one, we started with red, green, and white butcher paper cut in half vertically to make long stripes, and hung them alternating the colors.
Our plan was to cut foam boards for the kids to hold up as "frames" around their faces. I used a couple of different wrapping paper designs attached with spray adhesive to foam boards, then cut out the center to create the frame.
On a whim I thought it would be fun to add a balloon garland as well to up the fun factor, but it was an experiment because these would be up all month and I wasn't sure how long the balloons would last. They are fairly quick and easy to put together- and cheap- so I just planned to redo it as needed throughout the month. We made it through 2 weeks and the balloons were still hanging in there, but I went ahead and made a fresh one after that to get us through the rest of the month. I ended up using some of the extra balloons just taped individually to the sides of the balloon garland.
I used clear packing tape to attach the line that the balloons were strung on to the background paper in a few spots, but then used loops of more clear tape on various balloons throughout the garland to hold them in place against the paper. I also didn't want too many loose hanging parts on the garland because you know kids... balloons... I wanted to try to avoid much batting around of any loose said balloons! 😂
So there are our three Christmas photo booths for this year. It has been so fun to walk around and see friends and families gathering to use them after all of our hard work! I even got in on some photos after I recently picked up some new stylish and affordable Winter closet staple pieces from Walmart Fashion- our fun Christmas backdrops made the perfect setting to share them with you!
This red and black buffalo check duster jacket is such a versatile piece from the beginning of Fall all through Winter. It's easy to dress up or down depending on what you wear with it. I wore boyfriend jeans and a white t-shirt for a casual look in the photo at the top of this post, but here I wore it to church last Sunday with a white button up blouse, black pants, and booties. Runs large, I sized down and still had plenty of room.
Somehow I've never owned a camel colored coat- something I consider the most basic Winter closet staple! This funnel neck coat is warm without being bulky, it's been perfect for church and errands. I'm wearing it with this super soft lightweight sweater. It actually caught my eye last year when my darling niece wore it to our family Thanksgiving dinner. I complimented her on it and asked about it and was surprised when she said she got it at Walmart! When I saw them in stock again this year I snatched one up.
I asked my daughter to pop in front of the kids' backdrop so I could share her plaid "shacket". She bought it on her own several weeks ago (yay for affordable pieces for teens!) and loves it!
A few of the unbelievable deals worth mentioning (marked by stars on the graphic)...
*Updated sherpa bomber style jacket that is 80% off in 4 colors!
*Wide leg button fly crops in cream or denim colors- $8 with near perfect reviews!
*Long leopard faux fur coat- nearly 1/2 off (I've wanted one of these for a long time... ordered!)
*Belted denim shirt/jacket- dark color is $22 and medium color is $15- 5 star reviews! I used to have a similar one years ago and was just thinking about it the other day wishing I still had it, trying one of these now!
*Belted puffer vest- under $15, 5 colors, great reviews! Love longer vests like this to wear with leggings.
*Long Sherpa Coat- 75% off puts it under $50, 4 colors to choose from.
*Buffalo Check Duster Coat- under $30 and excellent reviews, 4 colors to choose from.


OMG you and your friends hit this out of the park once again! As much as I love all of the photo booths, I believe my favorite is the first one! All so creative and festive! Merry Christmas Jen, to your family and to your readers!! =-)
ReplyDeleteYou're so creative. I love this post so much. I hope you had a Merry Christmas! Also, where did you get the cute animal print flats (shoes)- those are adorable.
ReplyDeleteThanks for sharing your creativity Jennifer!